Are you looking to set up a media kit or press kit page on your website?
A media kit provides information and media files about your business. It makes it easy for bloggers and journalists to write about your business and provides potential clients and advertisers with the statistics they need to make a decision.
In this article, we’ll show you how to set up a media kit page in WordPress.
Why Set Up a Media Kit Page in WordPress?
A media kit, or press kit, is a page on your WordPress website that offers everything that busy journalists need to write about your business. It can also offer statistics about your reach and audience for potential clients and advertisers.
A press kit page normally includes company facts and news, press releases, and details about your team. It also offers high-resolution logos and photos, guidelines about your branding, and a way for writers to contact you with further questions.
If you sell advertising or sponsored blog posts, then your media kit should also clearly detail what you offer, as well as your traffic statistics, social media following, audience demographics, and any other data that will make your site more appealing to advertisers.
You can learn more about monetizing your website in our guide on how to make money online blogging with WordPress.
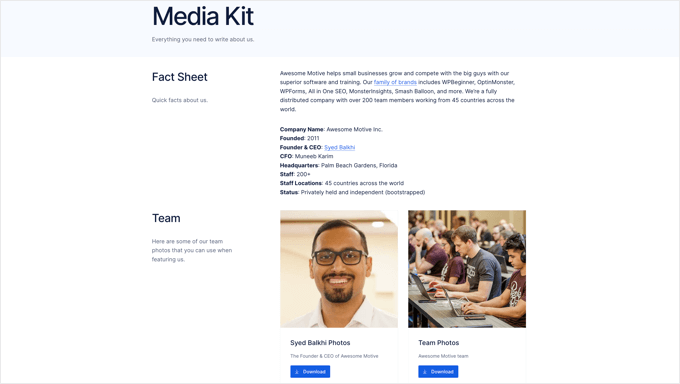
A good example is the Awesome Motive Media Kit page. It provides writers with team photos, logos, brand colors, writing guidelines, and quotes. It also provides a link where the media can get in touch with the PR team when they have further questions about our brands.
With that being said, let’s take a look at how to easily set up a media kit page in WordPress.
Creating a Media Kit Page in WordPress
The first thing you need to do is install and activate the free Publisher Media Kit plugin. For more details, see our step-by-step guide on how to install a WordPress plugin.
On activation, the plugin creates a new draft page called ‘Media Kit’. This page is made up of beautifully designed block patterns that are easy to customize and look great out of the box.
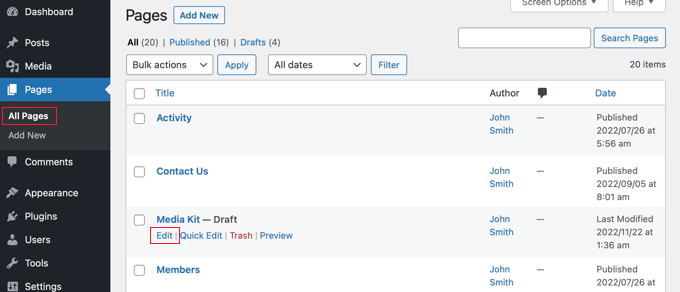
You need to navigate to Pages » All Pages and edit the ‘Media Kit’ page by clicking its title or the ‘Edit’ link below.
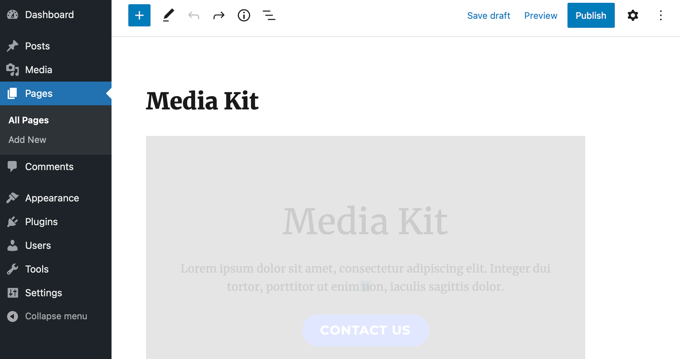
You will now see the draft media kit page. The block patterns contain placeholder text that you can easily customize within the WordPress block editor.
Each block contains information that is typically found in media kits. For most websites, you simply need to click on the block and replace the sample content with your own.
You can find the
Publisher Media Kit block patterns by clicking the ‘+ Block Inserter’ icon at the top of the page.After that, you need to click the ‘Patterns’ tab and select ‘Publisher Media Kit’ from the drop-down menu. Now you can drag the block patterns onto your post or page.
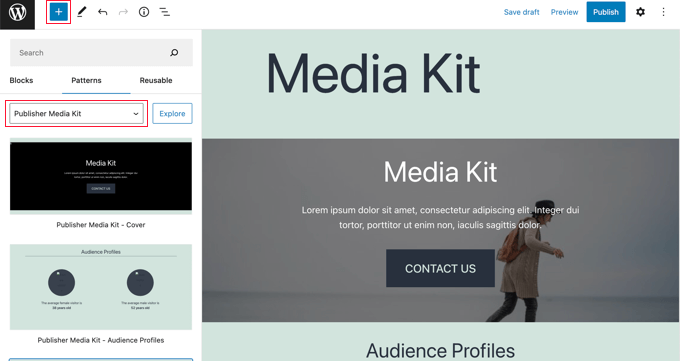
This lets you add the block patterns back to the Media Kit if you delete them, or use them in other posts and pages.
If you haven’t used block patterns before, then you might like to check out our beginner’s guide on how to use WordPress block patterns.
Customizing Your Media Kit Page
Now you can go through the draft media kit page and customize it. You should replace the placeholder text with actual information about your business. You can delete any blocks that you don’t need, add additional blocks, and rearrange their order.
Customizing the Media Kit Cover
The media kit starts with a full-width cover block. You will need to replace the placeholder text with a brief overview of your business that journalists can use as a boilerplate.
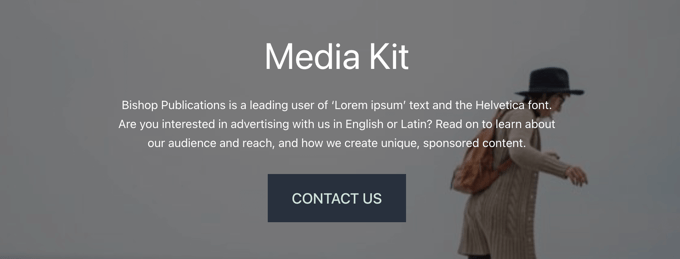
You should also replace the background image with one relevant to your business.
Simply click near the edges of the rectangle and select ‘Replace’ from the toolbar. You can then choose an image from the Media Library, upload a new one, or use the page’s featured image.
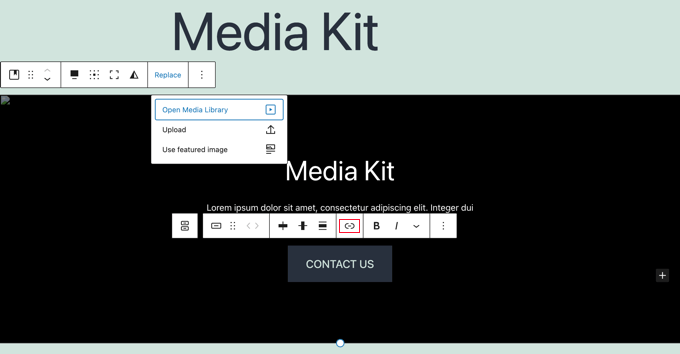
You need to add a link to the ‘Contact Us’ button, so it will take visitors to your contact form when it is clicked. You might want to create a custom form that sends media inquiries straight to your public relations person or team. We recommend using a free plugin like WPForms for that.
Finally, you can change the height of the block by dragging the circle at the bottom.
Customizing Audience Profiles
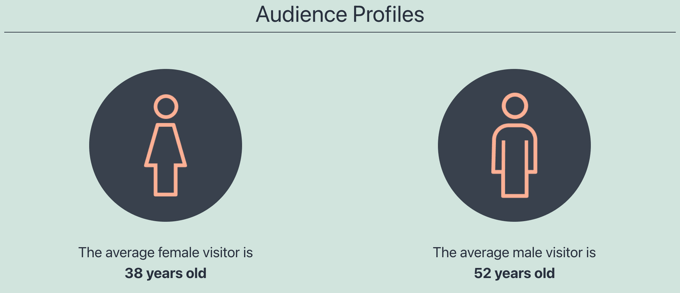
The Audience Profiles block displays the ages of your average female and male visitors, a statistic potential advertisers like to know. You need to edit the ages to match your audience.
https://example.com/folder at the beginning of the
‘Current media URL’ field.You can learn how to discover the ages, gender, and much more about your audience in our guide on how to track website visitors to your WordPress site.
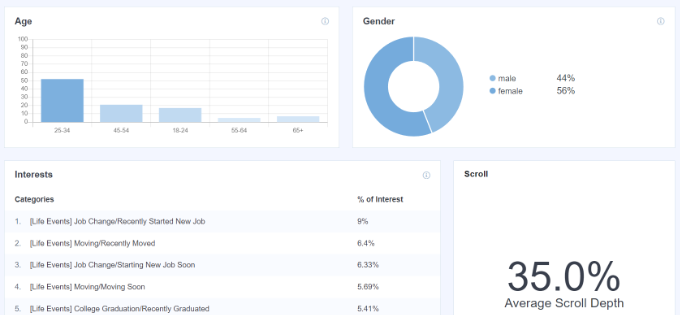
The screenshot above is from our MonsterInsights analytics dashboard. It’s a free plugin that you can use to get similar stats about your site.
Customizing Website Statistics
The next section displays statistics about your reach, including your website traffic and social media following. This section will also help potential advertisers make a decision.

Simply click on the text to update the numbers with your own figures.
You might also want to add links to ‘Facebook Followers’, ‘Twitter Followers’, and ‘Instagram Followers’ if you haven’t already added social media icons to your WordPress menus.
Customizing the Why Choose Section
In the next section, you can outline the unique value your business can provide to potential clients and advertisers. Here you will briefly explain why your visitors should choose your business over your competitors.
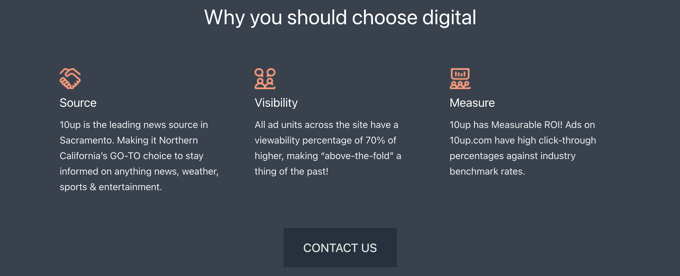
Simply click on the text to edit it. You can swap out the images and add or remove columns as needed. Don’t forget to add a link to the ‘Contact Us’ button as you did earlier.
Customizing Advertising Information
The next three blocks let potential advertisers know what you are offering and how much it costs. Alternatively, you can edit them to show other services you are offering. You can delete any block that you don’t need.
First, you’ll see the Ad Specs block. By default, this block has three tabs at the top to let your visitors easily find the type of ads or services that they are interested in. Simply click on the text to edit it.
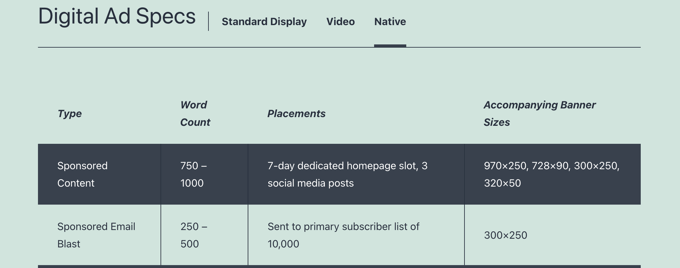
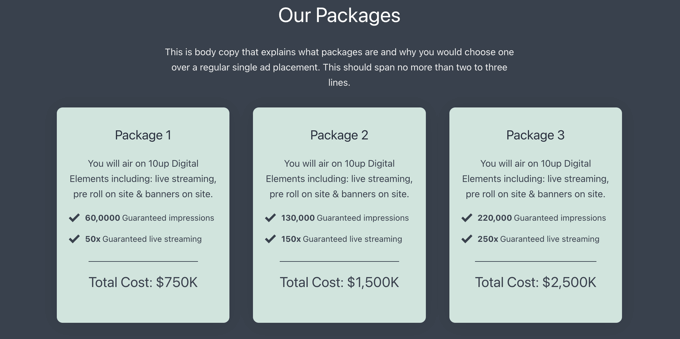
After that, you will find the Our Packages block.
Here you can list the benefits and costs of any package deals you are offering.
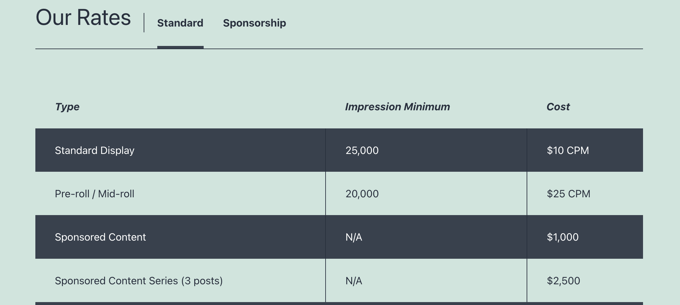
The third block is the Our Rates block. By default, it comes with two tabs where you can display your standard and sponsorship pricing.
You can easily add or remove tabs and customize the content.
Customizing the ‘Still Questions’ Block
Finally, if your visitors still have questions after reading your media kit, then they will need a way to contact you. That’s the purpose of the Still Questions block.

Simply add a link to the ‘Contact Us’ button so that visitors will be taken to your contact form when they click it.
Adding Additional Information and Media
Now that you’ve customized each blog provided by the Publisher Media Kit plugin, you may wish to add some additional information or media files. You can do this using standard WordPress blocks such as the heading block, paragraph block, and image block.
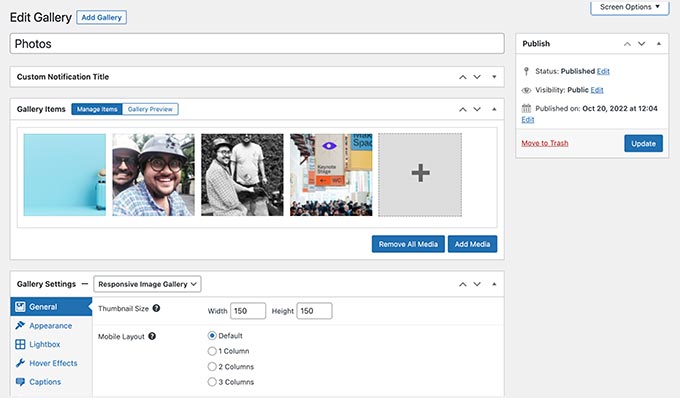
For example, you’ll want to provide high-resolution images for bloggers and journalists to download and use in their articles. You can either create an image gallery or allow the resources to be downloaded in a zip file.
You should start by including your logos and branding. You’ll also want to provide headshots and brief biographies of key staff members and other team photos. The journalists will value any other quality images you can provide to help them show off your business and services.
Other items you can consider including in a media kit are press releases, news about your company such as acquisitions and new products, a summary of previous media coverage, and case studies that show your effectiveness.
Once your media kit page is finished, don’t forget to click the ‘Publish’ or ‘Update’ button at the top of the page to push it live.
Adding the Media Kit to Your Navigation Menu
Once you publish your media kit page, you should add the page to your navigation menu so that it’s easy to find.
Head over to Appearance » Menus in the WordPress admin sidebar and make sure the correct menu is selected at the top of the screen. After that, you should click the ‘View All’ tab under Pages and select the ‘Media Kit’ page.
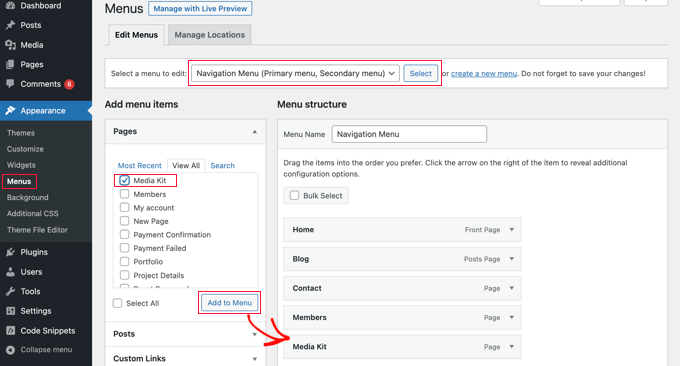
Now all you need to do is click the ‘Add to Menu’ button and your media kit will be added to the menu. You can drag the menu item up and down to place it where you want in the list.
If you can’t find Appearance » Menus in the admin sidebar, then you are probably using a block theme. To learn how to add menus using the Full Site Editor, see our beginner’s guide on how to add a navigation menu in WordPress.We hope this tutorial helped you learn how to set up a media kit page in WordPress. You may also want to learn how to create an email newsletter, or check out our list of the best live chat software for small business.
If you liked this article, then please subscribe to our YouTube Channel for WordPress video tutorials. You can also find us on Twitter and Facebook.
The post How to Set Up a Media Kit Page in WordPress first appeared on WPBeginner.
from WPBeginner https://ift.tt/oGNxLdl
More links is https://mwktutor.com
No comments:
Post a Comment