As the year comes to an end, we’re taking a moment to look back at some of the best tutorials we’ve published on WPBeginner in 2025.
While 2025 brought us plenty of exciting WordPress updates and new features, one topic naturally stood out this year: Artificial Intelligence.
Our goal wasn’t for you to simply watch the AI revolution unfold, but to use it in practical ways to grow your website and business.
That is why we shared practical guides on using AI inside WordPress, along with step-by-step tutorials, and smart automation techniques to help you work faster and more effectively.
At the same time, our core mission remains unchanged: to make WordPress easier for everyone, whether you are just starting out or managing a growing business.
In 2025, we published hundreds of guides designed to help you build better websites, master new tools, and improve your skills.
In this roundup, we’ve carefully selected the most popular and helpful tutorials of the year. Whether you missed these articles or want a quick way to revisit them, this guide will help you catch up on all the must-read WordPress and AI content from 2025.

WPBeginner Recap 2025
2025 has been a remarkable year for the WPBeginner team.
From expanding our WordPress tutorials to experimenting with new tools and workflows, our focus stayed the same: helping users succeed without unnecessary complexity.
None of this would be possible without the dedication of our team and the continued support of the WPBeginner community.
Similarly, our family of products made significant progress, focusing on artificial intelligence, automation, and user experience.
Here’s how our top tools evolved to help you grow your business.
WPForms
WPForms is the most beginner-friendly WordPress form builder on the market. Over 6 million websites use it to create contact forms, payment forms, surveys, and more with a simple drag-and-drop interface that’s now even easier with AI.
This year, we shipped a ton of new features, with a heavy focus on automation and AI.
We launched AI-powered form generation, so you can describe the form you need, and WPForms will build it for you in seconds.
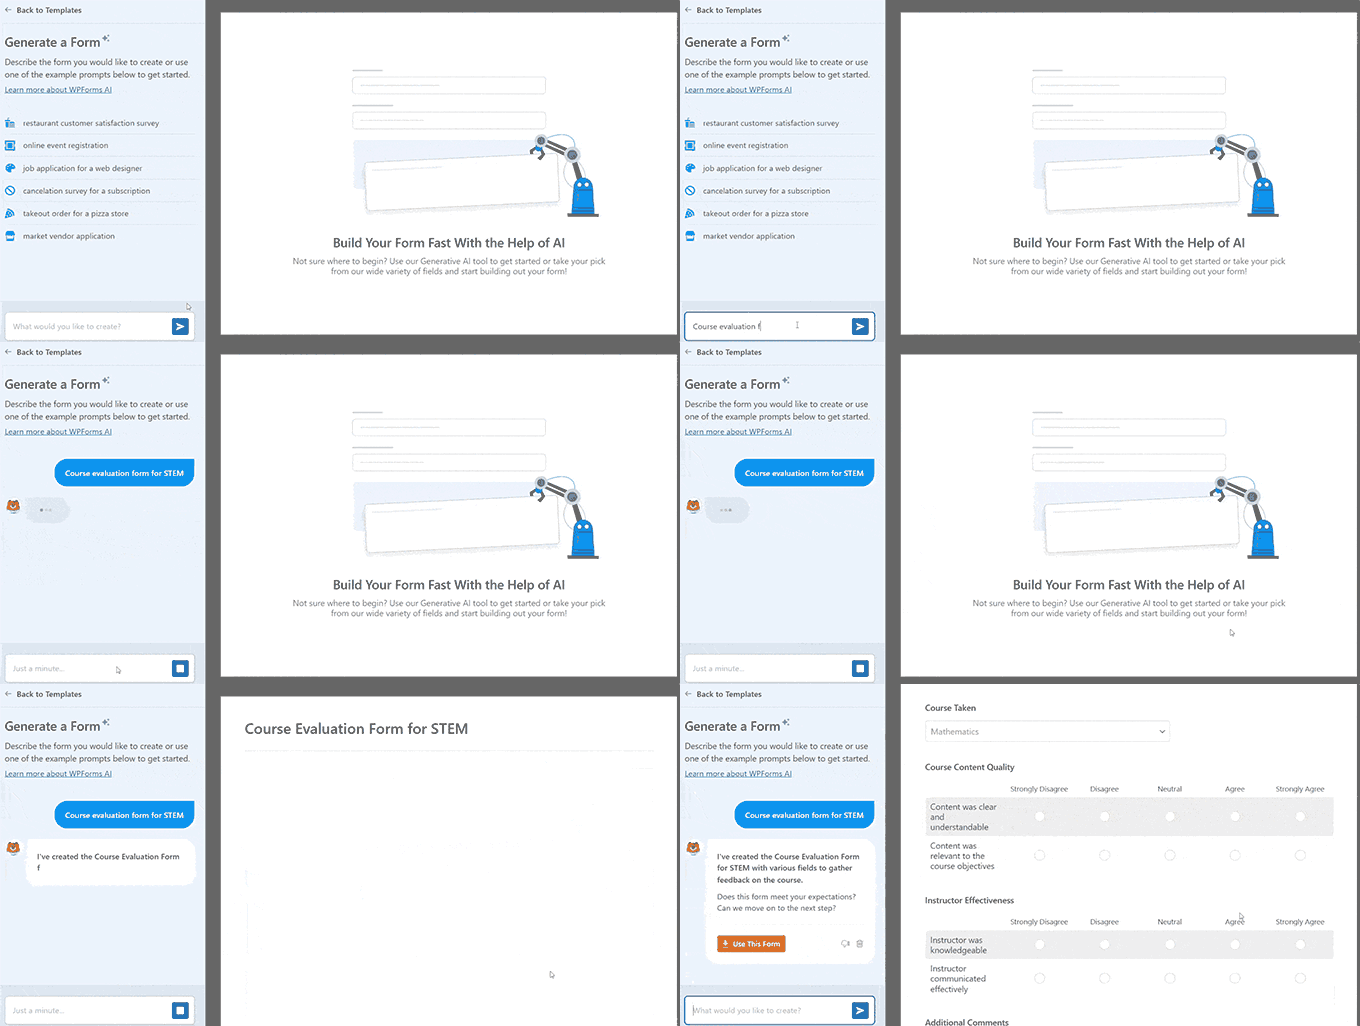
We also added AI Calculations, which lets you turn plain English into complex calculation formulas without using math or weird syntax. This is great for eCommerce, event planners, real estate, consultants, or anyone who needs dynamic pricing or custom calculations.
One of the most requested releases was our new PDF Addon, which automatically turns form submissions into professional documents. It’s a huge time-saver if you need to create invoices, contracts, receipts, or certificates after someone fills out a form.
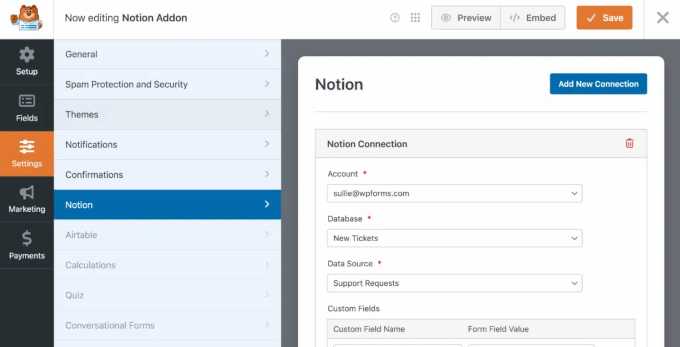
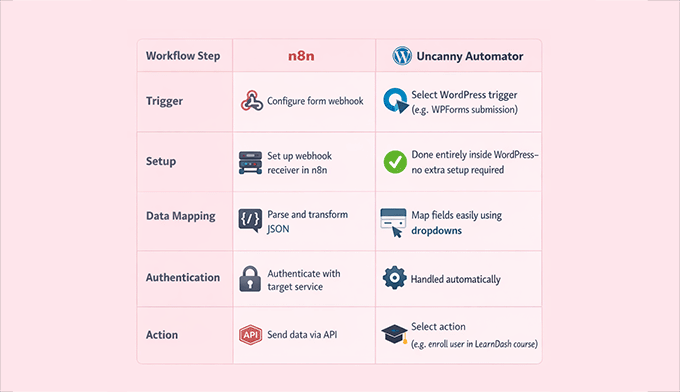
On the integration front, we added seamless connections with Airtable, Google Drive, Notion, Make.com, and n8n. These integrations make it easier than ever to automate workflows and keep data synced across tools.
Plus, we introduced the Entry Automation Addon, which automatically exports and cleans up form entries. For example, automatically export last week’s leads to a spreadsheet every Monday morning, or delete entries older than 90 days to stay compliant with privacy laws.
We also launched a Camera Field for capturing photos directly in forms. We built this because we wanted to collect video testimonials without paying for a third-party SaaS. Now, our users can do the same.
Design also got a boost with Form Themes for All, making professional styling accessible to everyone with no CSS required. Plus, free users gained the ability to accept payments via Square, which is a big win for small business owners who want to get paid faster.
We truly believe that WPForms is a must-have plugin for WordPress users, and we also have a free version that you can download straight from the WordPress plugin directory.
AIOSEO
All in One SEO (AIOSEO) is the best WordPress SEO plugin, and over 3 million website owners use it to improve their rankings, add schema markup, and manage their SEO right inside WordPress.
This year, we shipped a ton of updates, with a big focus on AI search visibility, faster content creation, and clearer reporting to prepare for the future of search.
One of our biggest releases was the AI Assistant, which works right inside the WordPress editor. It can generate entire articles from a simple prompt, so you can spend less time drafting and more time optimizing.
We also introduced the AI Content Generator, which can generate FAQ blocks, key points, social posts, and even SEO titles and meta descriptions directly in WordPress.
Another game-changing update was our AI Image Generator, which instantly creates unique, on-brand visuals and saves them to your media library. No need to design your own graphics or buy stock photos.
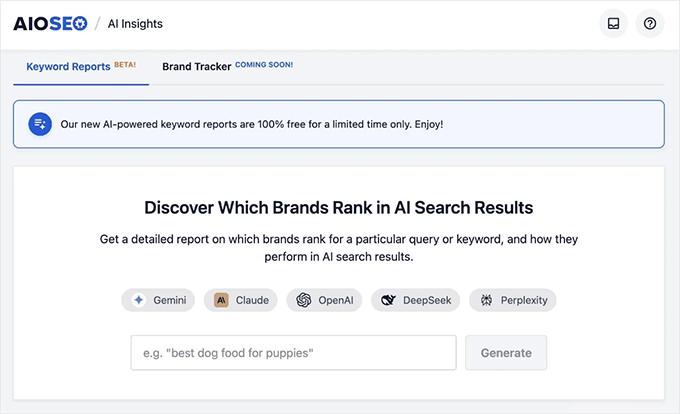
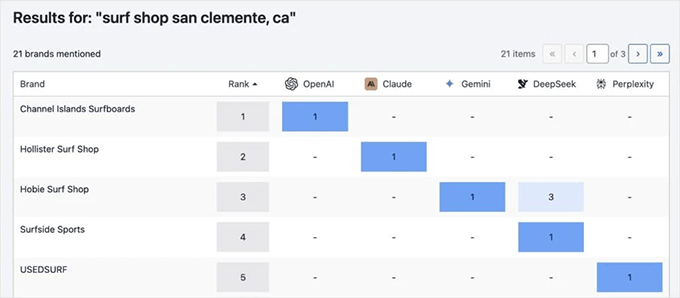
We also rolled out our new AI-powered Keyword Report tool, which lets you see which brands are ranking for search queries in AI search results. This is the best tool to prepare you for Generative Engine Optimization (AI Search).
Technical SEO saw major upgrades with the new Index Status Report and AI Insights, which help you see exactly how Google sees your content and uncover hidden opportunities without leaving the dashboard.
To give you more control over how AI systems see your content, we also introduced the LLMs.txt Generator. It lets you manage how large language models read your site, which is becoming increasingly important as AI engines index the web.
Other key updates included a visual Site Audit tool for finding issues faster, advanced Crawl Controls to manage bot traffic, and a highly requested feature for duplicating posts and pages.
We strongly recommend checking out AIOSEO if you want to grow your website rankings. We also have a free version that you can download from the WordPress plugin directory.
SeedProd AI Website Builder
SeedProd is the best drag-and-drop WordPress website builder used by 1+ million website owners. It makes it easy for anyone to create custom landing pages and full websites without hiring a developer or touching code.
This year, our team redefined website building for WordPress users with the launch of the AI Website Builder.
This game-changing tool allows you to generate a complete, fully designed WordPress website, including copy and images, in less than 60 seconds simply by describing your business in plain text.
It’s the fastest way to go from “I need a website” to “my site is live and ready to edit.”
Beyond AI, we rolled out a completely redesigned dashboard to streamline user workflows. This makes it easier to manage your pages, jump between projects, and keep everything organized as your site grows.
SeedProd also expanded the design library with over 15 new industry-specific themes and upgraded the Image Carousel block. It’s now even easier to build a website that looks polished right from the start.
You can download the free version of SeedProd from the WordPress plugin directory.
Other Notable Product Highlights
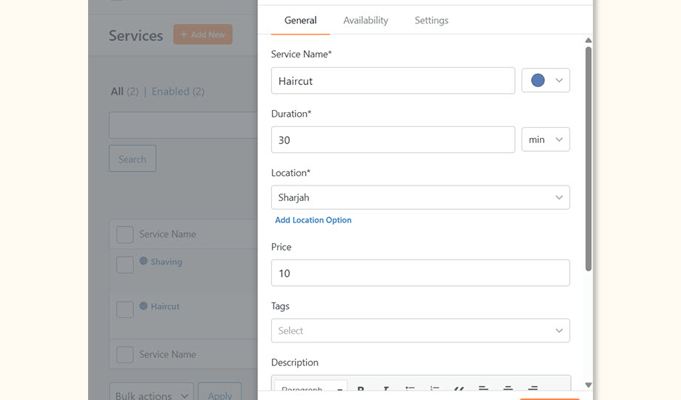
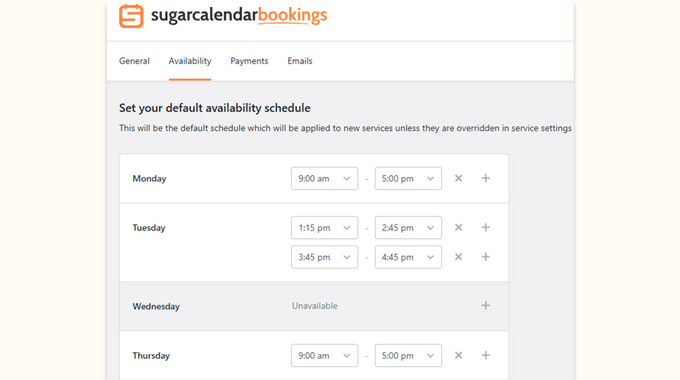
- Sugar Calendar Bookings is a brand-new appointment booking solution that lets customers schedule and pay for appointments directly on your WordPress site. It’s ideal for consultants, coaches, and service-based businesses that want full control over scheduling and payments. Learn more.
- WPChat is a new live chat tool that helps you turn website conversations into sales. It offers chat funnels, AI-powered FAQs, and live chat support across WhatsApp, Messenger, Instagram, and Telegram. Read our announcement.
- WPConsent is the best WordPress privacy compliance plugin, used by 100,000+ websites. It makes privacy compliance easy by automatically blocking tracking scripts until users give consent. It also includes geo-targeted banners, self-hosted consent logs, and auto-generated cookie policies. Learn more about WPConsent.
- RewardsWP is a lightweight refer-a-friend plugin built for WooCommerce and Easy Digital Downloads. It helps you launch word-of-mouth marketing campaigns for your online store without relying on complex third-party platforms. See how it works.
- PDF Embedder is a powerful WordPress PDF plugin used by 300,000+ websites that lets you securely embed and manage PDF documents on your site. It replaces clunky browser viewers with a clean, mobile-friendly experience while protecting your files from unauthorized downloads and tracking how visitors interact with your PDFs. See how it works.
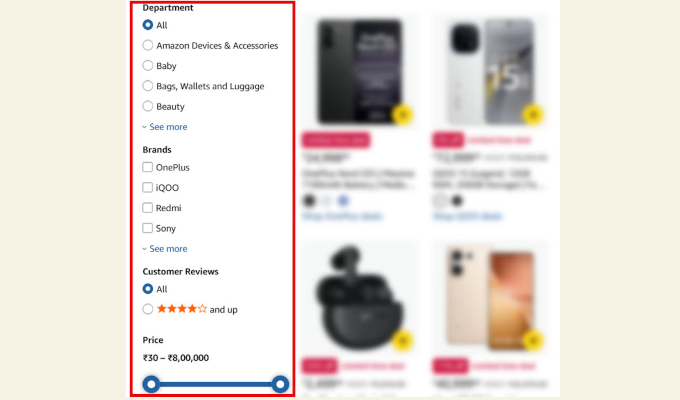
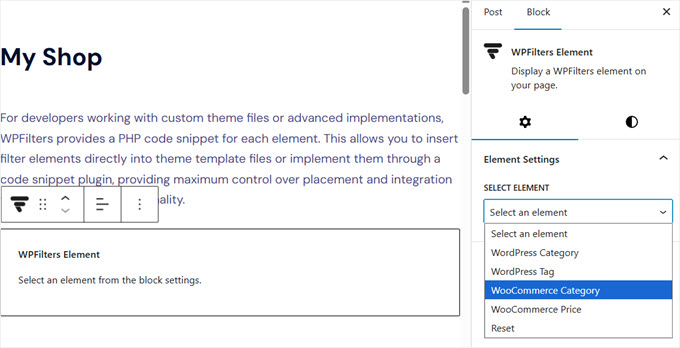
- WPFilters is a new filtering tool by SearchWP that makes it easy to add advanced, Amazon-style search filters to WordPress. Visitors can quickly narrow results by price, category, rating, or custom fields, helping them find exactly what they’re looking for. For more details, see our WPFilters announcement.
There have been many more exciting updates across all our products, and it’s hard to cover everything in one place. I recommend that you check out our WordPress plugins page to see what we’re building. Your continued support truly means a lot to us.
Acquisitions and Investments
Through the WPBeginner Growth Fund, we continue to invest in and support companies that solve important problems for WordPress users.
This year, we were thrilled to welcome aThemes to our family of products.
aThemes is the team behind some of the most popular and lightweight WordPress themes on the market, including Sydney and Botiga.
This acquisition allows us to provide our readers with professionally designed, speed-optimized templates to launch their websites quickly and efficiently.
aThemes also offers the powerful Merchant plugin, which enables WooCommerce store owners to increase their sales, retain customers, and boost average order value.
Want us to acquire or invest in your business? Learn more about the WPBeginner Growth Fund, where we invest in WordPress and SaaS companies.
Now, let’s look at the best content we published throughout the year on WPBeginner. 📅
January
How to Backup WordPress to Amazon S3 (Free + Paid Methods) – Keeping your website data safe is our top priority, and cloud backups are the best way to do it. We walk you through how to automatically send your backups to the cloud using Duplicator so you never have to worry about losing your hard work.
How to Reduce Stripe Transaction Fees in WordPress (3 Expert Tips) – Nobody likes losing a chunk of their hard-earned revenue to payment processing costs. We share our favorite strategies, including using WP Simple Pay, to help you lower those fees and keep more money in your pocket.
Why Is WordPress Slow? Learn How to Fix It with Our 10 Expert Tips – A slow website can hurt your user experience and search rankings, which is frustrating for everyone. We break down the most common causes of sluggish performance and give you actionable steps to speed up your site immediately.
How to Accept Deposit Payments in WordPress (2 Easy Methods) – Collecting partial payments upfront is a great way to secure your revenue for services or custom orders. We show you two simple methods to set this up on your site so you can manage your cash flow with confidence.
February
MonsterInsights vs Site Kit: The Best Analytics Solution for WordPress – Choosing the right analytics tool is crucial for growing your website. We compared Google’s Site Kit against MonsterInsights to help you decide which plugin offers the insights and user-friendly features you need to improve your strategy.
How to Turn Your WooCommerce Customers into Affiliates – Want to boost your sales without spending a fortune on ads? We showed how to easily turn your happy customers into brand ambassadors, leveraging word-of-mouth marketing to grow your revenue.
How to See Search Analytics in WordPress (2 Easy Ways) – Understanding what visitors are typing into your search bar reveals exactly what they are looking for. We highlighted two simple methods for tracking on-site search activity, helping you uncover content gaps and improve the user experience.
How to Create a Lead Magnet Optin Form in WordPress (2 Ways) – Growing an email list is much easier when you offer the right incentive. We explained how to set up high-converting lead magnet forms that deliver freebies instantly to turn casual visitors into loyal subscribers.
March
Introducing WPConsent – WordPress Privacy Compliance and Cookie Management Made Easy – We know that navigating privacy laws like GDPR and CCPA can be a major headache for website owners. We introduced WPConsent, a powerful new tool that makes cookie compliance and privacy management completely stress-free for your site.
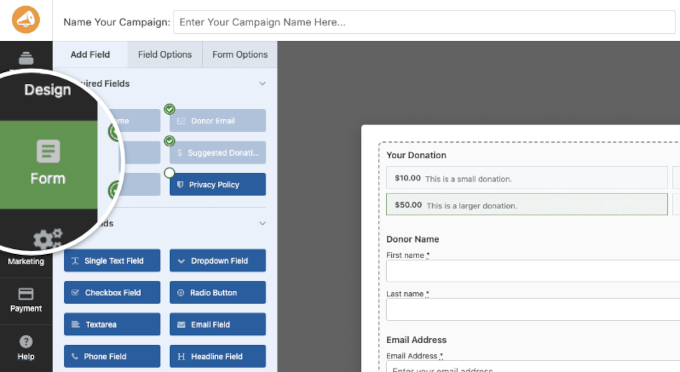
How to Create a Nonprofit Website in WordPress (Step by Step) – Are you looking to build an online presence for a charitable cause? We created a comprehensive guide on building a nonprofit website that not only looks professional but also includes the best tools to help you accept donations and raise funds effectively.
How to Generate Leads Through Affiliate Marketing in WordPress – Affiliate marketing is a great revenue stream, but are you maximizing its potential? We share proven strategies to generate high-quality leads through your affiliate campaigns, helping you boost conversions and grow your income significantly.
How to Use AI for Customer Service (Tips for Small Businesses) – Customer service can be overwhelming for small teams facing a mountain of repetitive questions. We shared practical ways to use AI to automate replies and provide 24/7 support, freeing up your team for issues that truly need a human touch.
#MyWordPressStory
This year, we also launched #MyWordPressStory, an interview series featuring insights from leaders who use WordPress to make positive changes in the world.
We shared inspiring journeys from founders like Justin Ferriman (LearnDash), developers like Tobias Bäthge (TablePress), and innovators like Nicolas Lecocq (OceanWP).
You can read these incredible success stories in our #MyWordPressStory archive.
April
Welcome aThemes to the WPBeginner Family of Products – We were thrilled to welcome aThemes to the WPBeginner family of products. Known for creating fast, reliable, and beautiful WordPress themes, this acquisition allows us to provide you with even better design solutions for your website.
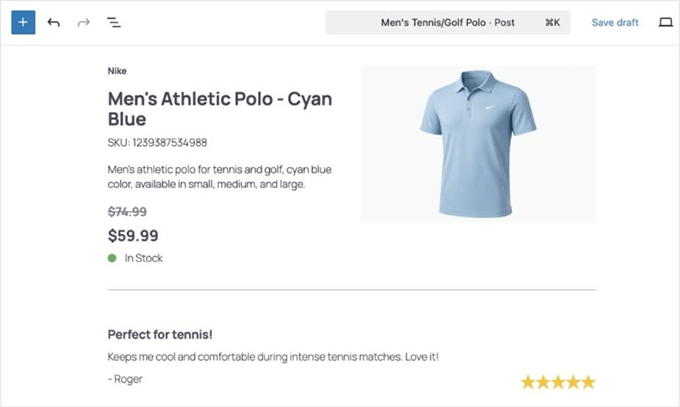
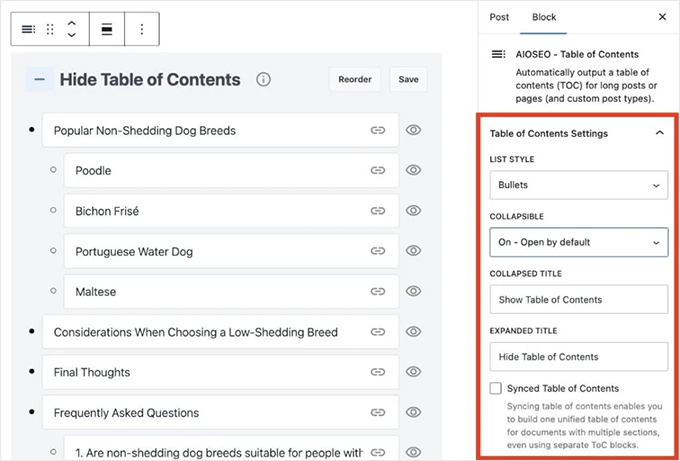
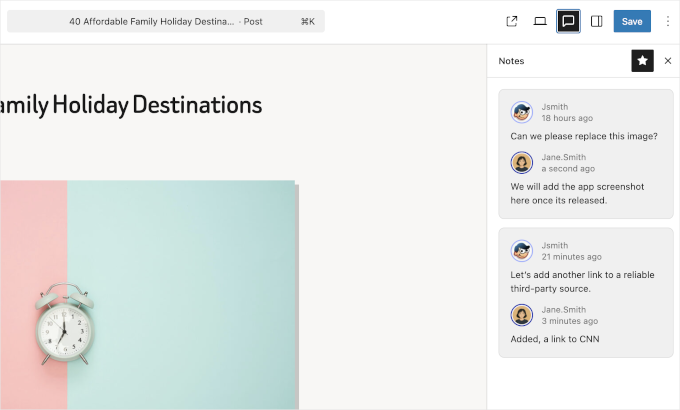
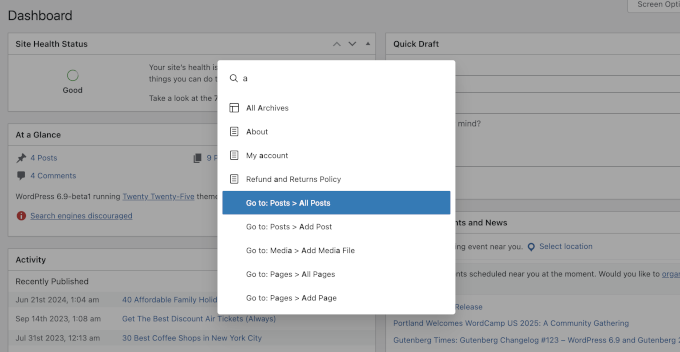
What’s New in WordPress 6.8? (Features and Screenshots) – We explored the beta version of WordPress 6.8 to show you the upcoming features, screenshots, and improvements. From a smarter admin interface to new design blocks, here are the new features that came with this major release.
How to Automatically Generate Image Alt Text in WordPress Using AI – Writing alternative text for every image is crucial for SEO and accessibility, but it can be incredibly time-consuming. We found a better way to handle this chore using artificial intelligence. This tutorial shows you how to automatically generate accurate image descriptions, saving you hours of work while improving your search rankings.
How to Keep Personally Identifiable Info Out of Google Analytics – Did you know that accidentally collecting user data like email addresses in Google Analytics can violate their terms of service? We created a step-by-step guide to help you prevent personally identifiable information (PII) from entering your analytics reports. This ensures that your site stays compliant and your account remains safe.
May
8 Best WooCommerce Affiliate Plugins Compared (Tried and Tested) – Want to increase your online store’s sales without spending a fortune on ads? We tested the top affiliate tools to help you create a referral program that empowers your customers and partners to do the marketing for you.
How to Setup WordPress Heatmaps (2 Easy Ways) – Are you guessing where your visitors are clicking? We show you exactly how to visualize user behavior on your site so you can see what is working, fix what isn’t, and optimize your layout for better conversions.
How to Add WordPress Analytics Without Cookies (2 Easy Methods) – Concerned about privacy regulations affecting your data? We explain how to track your website traffic accurately without using cookies, helping you stay compliant with GDPR and CCPA while still getting the insights you need to grow.
A Small Business Owners’ Guide to Artificial Intelligence – Many business owners are leaving money on the table by not using AI to its full potential. We cut through the fluff to show you practical ways to use AI today to save time, reduce stress, and automate your marketing and support.
June
11 Best WordPress Payment Plugins (Tested & Verified) – We know that choosing the right payment plugin is critical for your online business success. That’s why we tested and verified the top solutions to help you accept payments in WordPress securely and reliably.
The Ultimate Guide to WordPress and CCPA Compliance – Navigating privacy laws like CCPA can feel overwhelming, but ignoring them isn’t an option. We put together this ultimate guide to help you make your WordPress site compliant and avoid hefty fines without the legal headaches.
How to Create Faster Checkout in WooCommerce (9 Expert Tips) – A slow checkout process is the number one reason shoppers abandon their carts. We share expert tips to help you streamline your WooCommerce checkout, improve the user experience, and boost your sales.
How to Use AI to Translate Your Website (2 Easy Methods) – Want to reach a global audience without hiring expensive translators? We show you how to leverage AI to automatically translate your website content, helping you expand your reach into new markets with just a few clicks.
WPBeginner Spotlight
We also published WPBeginner Spotlight, a monthly news column that shares the most important updates from the WordPress world.
From major acquisitions to community milestones, Spotlight helps you stay informed about the industry without the noise. You can read all past issues in our Spotlight archive.
July
WPBeginner Turns 16 Years Old – Here’s What’s New + a $20,000 WordPress Giveaway – We were thrilled to celebrate another major milestone in our journey! To say thank you for your support over the last 16 years, we shared exciting updates about the site’s future and hosted a massive giveaway to help small business owners compete with the big guys.
How AI is Reshaping SEO: 30+ Trends to Watch in 2025 – Artificial intelligence is rapidly changing how search engines rank content, and we want to ensure you don’t get left behind. We analyzed the landscape to bring you the most critical trends, helping you adapt your strategy to maintain and grow your organic traffic.
Beginner’s Guide to Generative Engine Optimization for WordPress – With the rise of AI search tools like ChatGPT and Gemini, traditional SEO is evolving into something new. We put together this guide to show you exactly how to optimize your content for these generative engines so your site remains visible in the age of AI.
How to Migrate From Substack to WordPress in 10 Easy Steps – If you are feeling limited by Substack’s features and fees, it might be time to take full ownership of your newsletter. We created a step-by-step walkthrough to help you move your subscribers and content to WordPress, giving you total freedom to monetize and grow your audience your way.
August
How I Blocked 18,000 Spam Lead Attacks in My WordPress Form – Spam submissions can clutter your database and ruin your marketing analytics. We show you the exact method we used to stop thousands of automated attacks, keeping your forms secure and your leads high-quality.
How to Create a Live Autocomplete Search in WordPress – Helping visitors find content quickly keeps them on your site longer. We walk you through setting up live search suggestions so your users can see real-time results instantly as they type.
The Ultimate Guide to WordPress Privacy Compliance – Navigating regulations like GDPR and CCPA can feel overwhelming. We researched dozens of laws to create this ultimate guide. It shows you exactly how to make your WordPress site compliant with simple changes that protect both your business and your visitors.
How to Auto Export WordPress Form Entries (The Easy Way) – Manually downloading data for team reports is a waste of time. We show you a simple way to automatically export your form entries, streamlining your workflow and making data management effortless.
September
My Ultimate Guide to Conversion Rate Optimization in WordPress – You don’t always need more traffic to grow your business; often, you just need to do a better job with the visitors you already have. We put together this comprehensive guide to help you optimize your site’s conversion rates and unlock more revenue from your existing content.
BuddyBoss vs. Circle vs. Mighty Networks: My Top Pick – Building an online community is a powerful way to engage your audience, but choosing the right platform can be overwhelming. We compared the top contenders side by side to help you decide which tool offers the best flexibility and features for your community’s goals.
How I Block WordPress Form Entries From Certain Countries – Dealing with spam submissions or leads from regions you don’t serve can be a major headache. We show you a simple way to restrict form submissions by location, keeping your inbox clean and ensuring you focus only on relevant users.
I Created a Donor Portal in WordPress in Just 15 Minutes (No Coding) – Providing a seamless experience for your supporters is key to maintaining long-term contributions. We demonstrate how you can easily set up a professional donor portal without writing a single line of code, giving your donors full control over their giving history.
WPBeginner Live Workshops
In 2025, we took our community education to the next level by hosting monthly free workshops designed to help you level up your WordPress, SEO, and marketing skills.
From mastering Google Analytics 4 and WordPress Security to leveraging AI automation and building email lists, these live sessions provided deep dives into the topics that matter most to site owners.
Each workshop also features a live Q&A session, providing you with direct access to our experts who can answer your specific questions.
If you haven’t attended one yet, you can watch past recordings and sign up for the next session on our Free Workshops page.
October
I Ran a WooCommerce Flash Sale — Here Are My 10 Expert Tips – We share our proven strategies and favorite tools for creating urgency and boosting revenue during a sales event.
Forget Semrush — I Tried 9 Best Semrush Alternatives for Bloggers – We tested the top SEO tools to find powerful, budget-friendly solutions that help you uncover hidden keywords and outrank your competition without breaking the bank.
The Easy Way to Embed TripAdvisor Reviews in WordPress (No API Required) – We guide you through adding authentic social proof to your website by automatically displaying your latest customer reviews.
I Built a Fundraising Thermometer in WordPress (in Just 10 Minutes) – We show you a simple, effective way to visualize your campaign goals on your site. This can help you engage visitors and motivate supporters to contribute more to your cause.
November
Introducing WPChat: Your Live Chat Assistant for WordPress That Converts – We know that engaging with visitors in real-time is the fastest way to boost sales, but traditional chat tools are often expensive or clunky. That’s why we were thrilled to introduce WPChat, an AI-powered live chat solution designed to help you automate support and increase conversions.
How You Can Help Prevent Link Rot and Make the Open Web Better – Web content changes over time, leaving behind broken links that hurt your SEO. We showed you how to use a free plugin that automatically scans for dead links and replaces them with archived versions from the Internet Archive.
Want More Sales or Signups? I Tried 11 Best Conversion Optimization Tools – It is frustrating when you have traffic, but visitors leave without taking action. We tested the top conversion optimization software to show you exactly which tools can help you turn abandoning users into loyal subscribers and customers.
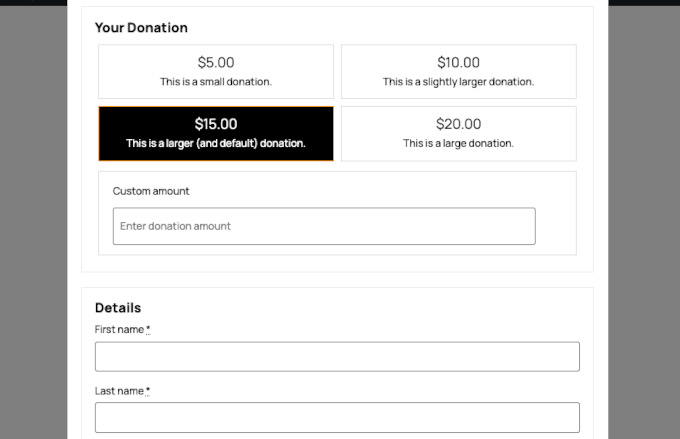
14 Ways I Get More Donations for My Nonprofit (I’ll Show You How) – Fundraising is often the biggest challenge for any cause-driven organization. We share our proven strategies and favorite tools to help you streamline your donation forms, engage your supporters, and reach your fundraising goals faster.
December
Introducing Sugar Calendar Bookings – The Easiest Way to Accept Appointments in WordPress – We were thrilled to announce a major update for Sugar Calendar that transforms your site into a powerful scheduling engine. We built this feature to help you accept appointments and manage your availability directly in WordPress, without expensive third-party booking platforms.
I Tried 7 Best GoFundMe Alternatives (Raise More, Pay Less) – High platform fees can significantly cut into your fundraising efforts. We tested the best alternatives to help you create a donation site with total control, so you can bypass strict restrictions and keep more of the money you raise for your cause.
Can You Delete a Google Review? Here’s What You Can Do Instead – A single bad review can feel disastrous for a business, but you aren’t helpless. We explain why you can’t simply hit “delete” and walk you through actionable strategies to flag fake feedback and leverage social proof tools to showcase your best reviews.
What’s New in WordPress 6.9? (Features & Screenshots) – We want you to be prepared for the future of your website. We explored the upcoming WordPress 6.9 release to give you an exclusive look at the new features and block editor improvements so you can take full advantage of the update.
These were our top WordPress tutorials of 2025. We hope they helped you take your website to the next level.
Thank you to everyone who visited, commented, and supported WPBeginner this year. We couldn’t do this without you.
Get ready for even more helpful guides coming in 2026. Happy New Year!
If you liked this article, then please subscribe to our YouTube Channel for WordPress video tutorials. You can also find us on Twitter and Facebook.
The post Best of Best WordPress Tutorials of 2025 on WPBeginner first appeared on WPBeginner.
from WPBeginner https://ift.tt/HTX1lpr
More links is https://mwktutor.com

